This is a straightforward, step-by-step guide on how to upgrade ESXi from version 7.x to 8.x using esxcli.
I used this method when one of the hosts in the cluster got stuck and the baseline-based vLCM upgrade failed to complete.
An important detail: you need to extract the software profile name from the offline bundle and use it in the update command.
I’ll break down the entire process below.
1. Download & Upload ZIP bundle
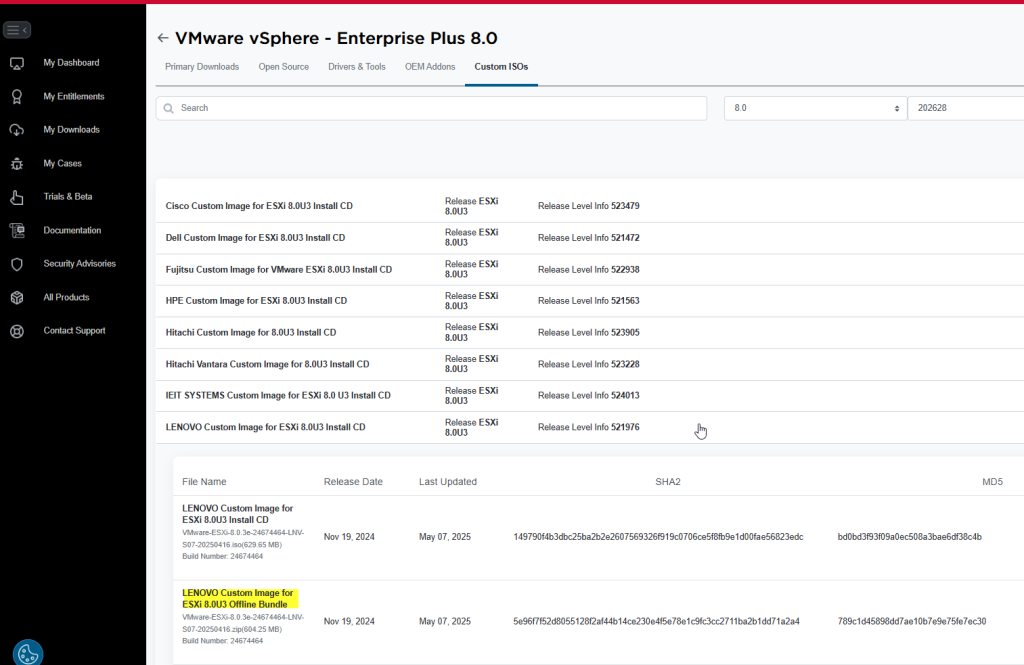
To download the offline bundle, navigate to support.broadcom.com, then go to:
My Downloads → VMware vSphere → and select your desired version.
In my case, I used a custom Lenovo ISO, but for the esxcli upgrade method, make sure you download the offline bundle .zip file, not the ISO.
- Use WinSCP or upload the
VMware-ESXi-8.x.x-xxxxxx-depot.zipto a datastore or/tmp.
2. Enable SSH on the ESXi and login using PuTTY
At this point you have already:
- Backup your host configuration.
- Make sure your hardware is compatible with ESXi 8.x.
- Put the host in maintenance mode.
3. List profiles in the bundle
esxcli software sources profile list -d /vmfs/volumes/datastore1/VMware-ESXi-8.x.x-xxxxxx-depot.zip

4. Run the upgrade
esxcli software profile update -d /vmfs/volumes/datastore1/VMware-ESXi-8.x.x-xxxxxx-depot.zip -p ESXi-8.0U2-xxxx-standard

Use
update(notinstall) to preserve host settings.
5. Reboot
By typing reboot in the console.
And that’s it.
Something that you’d want to pay attention to is to enter the right path when working at step 3 and 4.