You probably know that changing a VM’s name in vCenter is easy, but that doesn’t actually rename its files or VMDKs. Normally, you’d use Storage vMotion to move and rename everything neatly. But what if Storage vMotion isn’t an option?
This post is for that exact situation. I’ll share a quick tip on how to rename VMDKs without relying on Storage vMotion.
Step 1. Power Off the VM
You can’t rename files while the VM is running, so shut it down first.
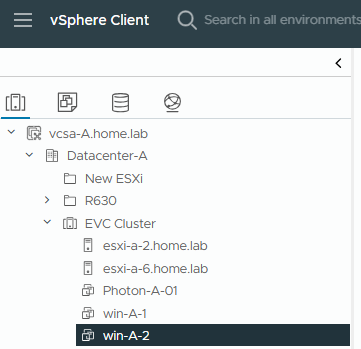
Step 2. Rename the VM in vCenter or ESXi
Change the VM’s display name in the inventory. This updates how it looks in vCenter but doesn’t affect file names.
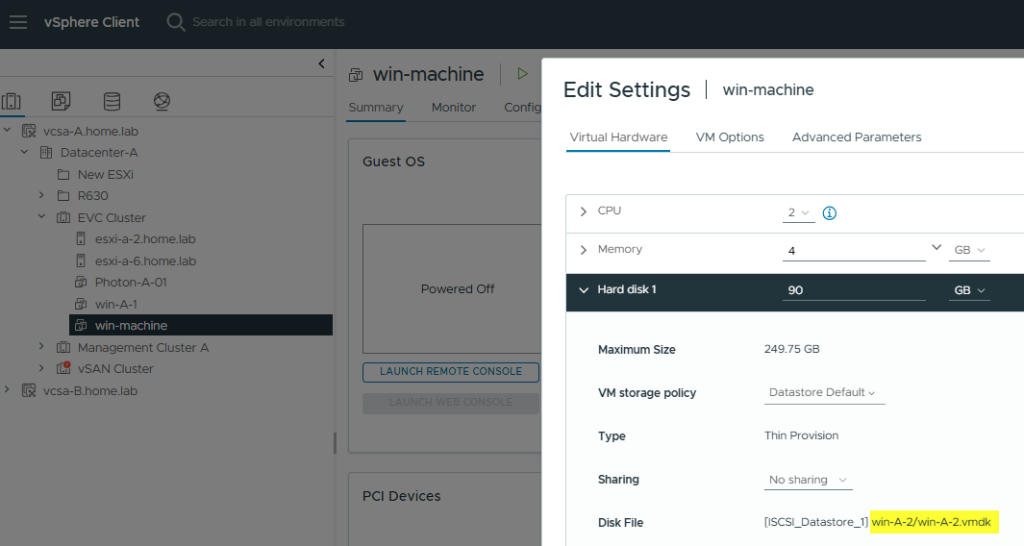
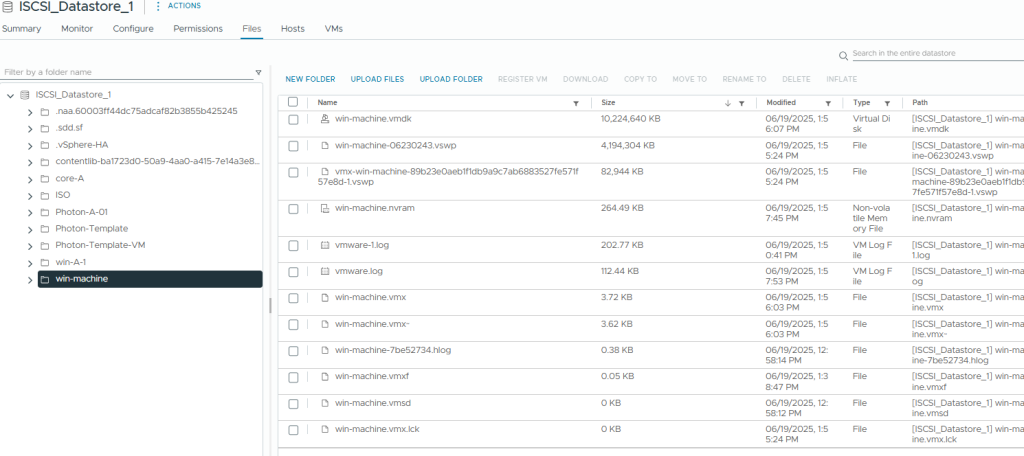
Step 3. Rename the VM’s Folder and Files
Use the datastore browser or SSH to rename the VM’s folder and all its files. Rename the folder first, then the files inside – keep the names consistent and organized. (I used the GUI (Datastore Browser) to rename the VM’s folder and files.)

Step 4. Update the VM Configuration File
After renaming, you need to edit the VM’s .vmx file to reflect the new file names, so VMware knows where to find everything.
Within the configuration file, modify all old instances of the virtual machine’s file names to the new file names. At a minimum, modify these values (more may exist):
nvram = "newname.nvram"displayName = "newname"extendedConfigFile = "newname.vmxf"scsi0:0.fileName = "newname.vmdk"[...]migrate.hostlog = "./newname-UUID.hlog"
Repeat this process for each virtual machine disk. For example:
scsi0:1.fileName = "newname_1.vmdk"scsi0:2.fileName = "newname_2.vmdk"
Correct the VMkernel swap file reference.
For example:
sched.swap.derivedName = "/vmfs/volumes/DatastoreUUID/newname/newname-UUID.vswp
Note: Ensure both the .vswp file and the directory name for the swap file are renamed.
Step 5. Re-register the VM
After renaming, simply remove the VM from inventory, then browse the datastore, locate the new .vmx file, and re-register the VM.
Step 6. Power On and Answer the VM Question
Power on the virtual machine.
During startup, a question will appear in the Summary tab. To answer it:
Click the Summary tab, right-click the VM in the inventory, select Answer Question, and when prompted, choose “I moved it”, then click OK.
⚠️ Important: Do not select “I copied it”. Doing so changes the VM’s UUID and MAC address, which can affect backup systems and applications that rely on those identifiers.
For an alternative method using SSH and more in-depth details on the renaming process, refer to the official VMware knowledge base article:
Renaming a virtual machine and its files – KB342208